HOW TO CLEAN YOUR ICE MACHINE
Ice makers and ice machines are one of the appliances in your home that need cleaning often. Most manufacturers recomend cleaning your ice machine every 6 months, but we have found 6 months is too long. We reccomend doing a clean cycle every 3 months to be safe. If you have looked inside your ice machine before you most likley could see mold growing inside the machine. Ice makers arent refrigerated, the ice is constantly melting and producing more ice. That makes a great enviorment for black mold to grow. If your ice is in contact with mold then you are most certinly going to be ingesting it. Thats why we recomend cleaning more often and making sure to clean completly. The best thing to do would be to call a professional out to take the machine apart so it can be cleaned completly but if you are wanting to learn how you can clean it yourself, we have come up with a step by step guide to clean your ice machine.
Steps to clean ice machine:
Ice machine Preventitive Maintence
- First thing you should do is find your model number, you can learn more about that here. How to find your model number.
All ice machines have a diffrent procedure, the best thing you can do is look up the manual for your unit by typing the model into google, somthing like “(your model here) manual”. If you arent able to find a manual for your unit then you can follow the steps below. This guide will go into detail about procedures that are best completed by a trained professional. Please always take care with all saftey precautions, if you arent sure what you are doing, Please call a professional.
Cleaning
The ice making system and the air cooled condenser need to be cleaned regularly for the ice maker to operate at peak efficiency and to avoid premature failure of system components. See the “Ice Maker System” and the “Condenser” sections.
Wash the exterior enamel surfaces and gaskets with warm water and mild soap or detergent. Wipe and dry. Regular use of a good household appliance cleaner and wax will help maintain the finish. Do not use abrasive cleaners on enamel surfaces as they may scratch the finish.
For products with a stainless steel exterior, use a clean sponge or soft cloth and a mild detergent in warm water. Do not use abrasive or harsh cleaners. Do not use chlorine bleach on the stainless steel surfaces.
Minerals that are removed from water during the freezing cycle will eventually form a hard scaly deposit in the water system. Cleaning the system regularly helps remove the mineral scale buildup. How often you need to clean the system depends upon how hard your water is. With hard water of 15 to 20 grains/gal. (4 to 5 grains/liter), you may need to clean the system as often as every 6 months.
NOTE: Use one 16 oz (473 mL) bottle of approved ice maker cleaner.
- Press and hold the OFF control.
- Wait 5 to 10 minutes for the ice to fall into the storage bin. Remove all ice from the storage bin.
- Unscrew the drain cap from the bottom of the water pan located inside the storage bin as shown. Allow the water to drain completely.
- Replace the drain cap securely on the water pan. If the drain cap is loose, water will empty from the water pan and you will have either thin ice or no ice.
- Read and follow all handling information on the cleaner bottle before completing the steps below. Use one 16 oz (473 mL) bottle of approved ice maker cleaner.
- Pour one bottle of solution into the water pan. Fill the bottle twice with tap water and pour it into the water pan.

A. Water pan
B. Water pan thumb screws
C. Drain cap
7. Press and hold the CLEAN button. See “Using the Controls.” The light will blink, indicating that the cleaning cycle is in process. When the indicator light turns green (approximately 70 minutes), the cleaning cycle is complete. During the cleaning cycle, the system will both clean and rinse itself.
8. After the cleaning cycle is complete, remove the drain cap from the water pan. Look for any cleaning solution left in the water pan. If cleaning solution drains from the water pan, you should run the clean cycle again. Be sure to replace the drain cap securely on the water pan. If the drain cap is loose, water will empty from the water pan and you will have either thin ice or no ice.
NOTE: Severe scale buildup may require repeated cleaning with a fresh quantity of cleaning solution.
9. Push the selector switch to ON to resume ice production.
Condenser coil cleaning
A dirty or clogged condenser:
■ Obstructs proper airflow.
■ Reduces ice making capacity.
■ Causes higher than recommended operating temperatures which may lead to component failure.
1. Unplug ice maker or disconnect power.
2. Remove the two screws in the lower access panel and the
two screws from the base grille area of the front panel
support.
3. Pull the bottom forward and then pull down to remove the
lower access panel.

4. Remove dirt and lint from the condenser fins and the unit
compartment with a brush attachment on a vacuum cleaner.

5. Replace the lower access panel using the four screws.
6. Plug in ice maker or reconnect power.
Cleaning Interior of Ice Machine
1. Unplug ice maker or disconnect power.
2. Open the storage bin door and remove any ice that is in the
bin.
3. Remove the drain cap from the water pan and drain
thoroughly. Replace the drain cap securely on the water pan.
If the drain cap is loose, water will empty from the water pan,
and you will have either thin ice or no ice.
4. Remove the two screws that hold the cutter grid cover in
place and remove the cutter grid cover.
5. Unplug the wiring harness from the left side of the cutter grid.

A. Cutter grid cover
B. Screws
6. Unplug the ice level sensor from the right side of the cutter
grid. Pull the ice level sensor down and forward away from
the cutter grid.
7. Remove the right-hand and left-hand screws. Lift the cutter
grid up and out.
NOTE: Make sure the plastic spacer from the right-hand side
of the cutter grid bracket stays with the cutter grid.

A. Cutter grid harness
B. Screw.
C. Cutter Grid
D. Ice level sensor harness
E. Plastic Spacer
F. Screw
8. Remove the two thumb screws that hold the water pan in
place. Push down with one hand on the front of the pan while
pulling forward on the bottom back side.
A. Water pan
B. Water pan thumb screws
C. Drain cap
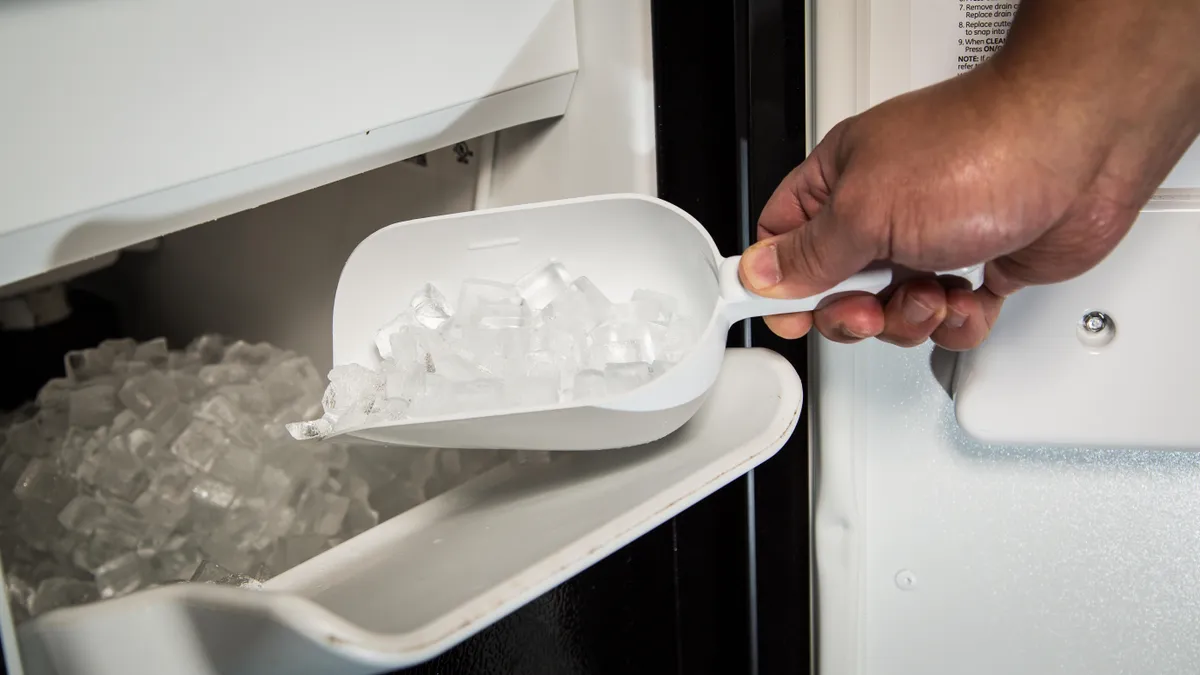
9. Remove, clean and replace the ice scoop and ice scoop
holder.
■ After removing the ice scoop, remove the holder by
removing the two thumb screws.
■ Wash the ice scoop holder along with the other interior
components using the following instructions.
■ Replace the ice scoop holder by replacing the thumb
screws.

A. Thumb screw
B. Ice scoop holder
10. Wash the interior components (cutter grid, exterior of hoses,
and water pan) and the storage bin, door gasket, ice scoop,
and ice scoop holder with mild soap or detergent and warm
water. Rinse in clean water. Then clean the same parts with a
solution of 1 tbs (15 mL) of household bleach in 1 gal. (3.8 L)
warm water. Rinse again thoroughly in clean water.
NOTE: Do not remove hoses. Do not wash plastic parts in
dishwasher. They cannot withstand temperatures above
145°F (63°C).
11. Replace water pan by pushing back on the bottom with one
hand while pushing up and back on the top. Secure the water
pan by replacing both screws.
12. Check the following:
■ Drain cap from the water pan is securely in place. If the
drain cap is loose, water will empty from the water pan,
and you will have either thin ice or no ice.
■ Hose from water pan is inserted into storage bin drain
opening.
13. Slide the cutter grid back into place and secure it by
replacing the right-hand screw and plastic spacer. Then
tighten the left-hand screw. Reconnect the cutter grid
harness and the ice level sensor harness.
14. Replace the cutter grid cover and the two screws.
15. Plug in ice maker or reconnect power.